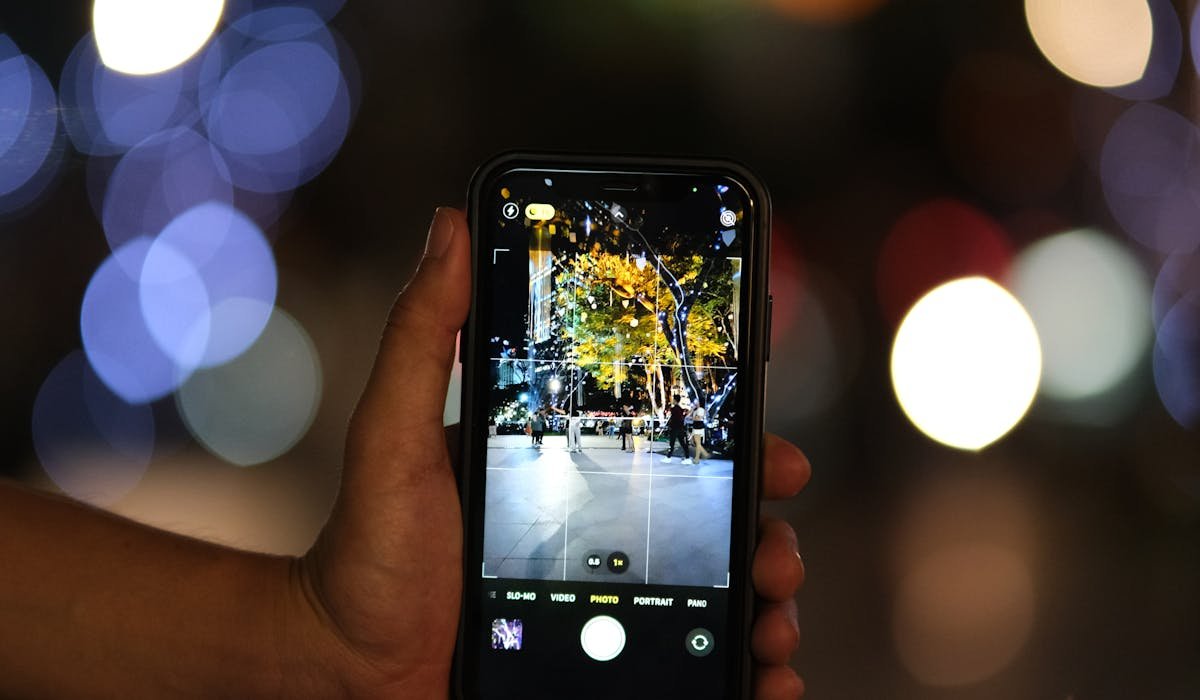
Google Translate's camera mode is travel magic. Point at any sign, menu, or label. The translation overlays in real time. Works in 100+ languages including ones you'd never expect.
Here's how to use it properly and what to do when it struggles with weird fonts.
Open the camera mode
Open the Google Translate app on iPhone or Android. The home screen shows language selectors at the top – source language and target language.
Tap the Camera icon in the middle of the bottom row. The first time, the app asks for camera permission. Allow.
The camera view loads with a translation overlay ready.
Real-time translation overlay
Point the camera at any text. Within a second, the text on screen swaps out with the translated version. The translation appears overlaid on the original.
Hold the phone steady for best results. The text needs to be readable – move closer if it's small. The overlay updates continuously as you adjust the camera angle.
Tap a photo to translate
For more accurate translation, tap the shutter button. The photo freezes. Google Translate processes the entire image and gives you a cleaner, more accurate translation.
You can also tap specific parts of the image to translate just that section. Useful for complex menus where you want only one item translated.
Import from gallery
You can also translate photos you took earlier. In camera mode, tap the gallery icon (looks like a photo). Browse your album. Pick the photo with text you want translated.
Useful for screenshots of foreign websites or pictures of documents you saved during a trip.
Set language pair
Before pointing the camera, set the source and target languages at the top. If you don't know the source language, pick Detect language on the left side. Google guesses.
Auto-detect works for most common languages. Less accurate for languages with mixed scripts or unusual fonts.
Download languages for offline use
Camera translation usually requires internet. To work offline, download language packs:
- Open Google Translate
- Tap the menu (three lines) or profile icon
- Pick Offline translation or Downloaded languages
- Find languages you need
- Tap download next to each
Each language is 30-50 MB. Once downloaded, camera translation works without internet. Useful when traveling abroad without data.
Languages that work best
| Language | Accuracy |
|---|---|
| Spanish, French, Italian, German | Excellent |
| Chinese (Simplified) | Very good |
| Japanese | Good for standard text |
| Korean | Good |
| Arabic | Decent |
| Thai, Hindi | Hit or miss |
| Handwritten text | Limited |
| Stylized or artistic fonts | Limited |
When the translation looks wrong
Sometimes translations are clearly off. Common causes:
- Camera couldn't read the text properly – move closer or improve lighting
- Stylized font confused the OCR
- Source language was misidentified
- Translation context is ambiguous (Chinese characters with multiple meanings)
Take a clear photo. Tap to lock the photo. Highlight just the part that's wrong. Google often gives different translations for selected text vs full image. Best of both options.
Translate handwritten text
Camera mode struggles with handwriting. For handwritten notes, use the Conversation or Type mode instead. Or in the camera mode after taking a photo, you can tap to select specific letters and the app interprets them better.
For complex handwriting, take a photo and use Google Lens instead – Lens handles handwriting slightly better in some cases.
Translate signs from a distance
For large signs across a street, the camera might struggle to read clearly. Zoom in using the camera's zoom feature (pinch the screen). The OCR works on whatever zoom level you have.
Take a photo at zoom. Translate the still image. More accurate than trying to hold the camera steady at full zoom in real-time mode.
What languages are you planning to translate? Tell me your destination or use case and I'll mention any quirks for that pair.