Mac has 8 different ways to take a screenshot. Most users only know 2 or 3. The right one for your situation can save real time, screenshot the entire screen, a window, a region, a Touch Bar, video recording with audio. Here are all 8 methods.
1. Full screen, Cmd + Shift + 3
Press Cmd + Shift + 3. Captures everything on screen, saves to Desktop by default. The simplest screenshot method.
File name format is "Screen Shot YYYY MM DD at HH MM SS.png". Easy to find chronologically.
2. Region select, Cmd + Shift + 4
Press Cmd + Shift + 4. Cursor turns into crosshairs with coordinates. Click and drag to select an area. Release to capture.
Hold Spacebar mid drag to move the selection without resizing. Hold Shift to constrain to specific dimension. Hold Option to grow from center.
3. Window capture, Cmd + Shift + 4 then Spacebar
Press Cmd + Shift + 4 then tap Spacebar once. Cursor turns into a camera icon. Hover over any window. Click to capture just that window with a clean shadow.
Hold Option while clicking to capture without the shadow effect. Useful when you need a cleaner result without the macOS shadow.
4. Screenshot toolbar, Cmd + Shift + 5
Press Cmd + Shift + 5. The screenshot toolbar appears at the bottom of the screen. Buttons for full screen, window, region. Plus screen recording options.
The Options menu lets you change save location (Desktop, Clipboard, Documents, Mail, Messages, Preview). Set a timer (5 or 10 second countdown). Show or hide cursor in screenshots.
This toolbar is the most flexible method when you need options beyond a quick screenshot.
5. Copy to clipboard, add Control key
Hold Control while using any of the above shortcuts. The screenshot copies to clipboard instead of saving to Desktop.
Examples, Cmd + Control + Shift + 3 copies full screen to clipboard. Cmd + Control + Shift + 4 lets you select a region and copy.
Paste with Cmd + V into emails, chats, documents. No file management needed.
6. Touch Bar screenshot, Cmd + Shift + 6
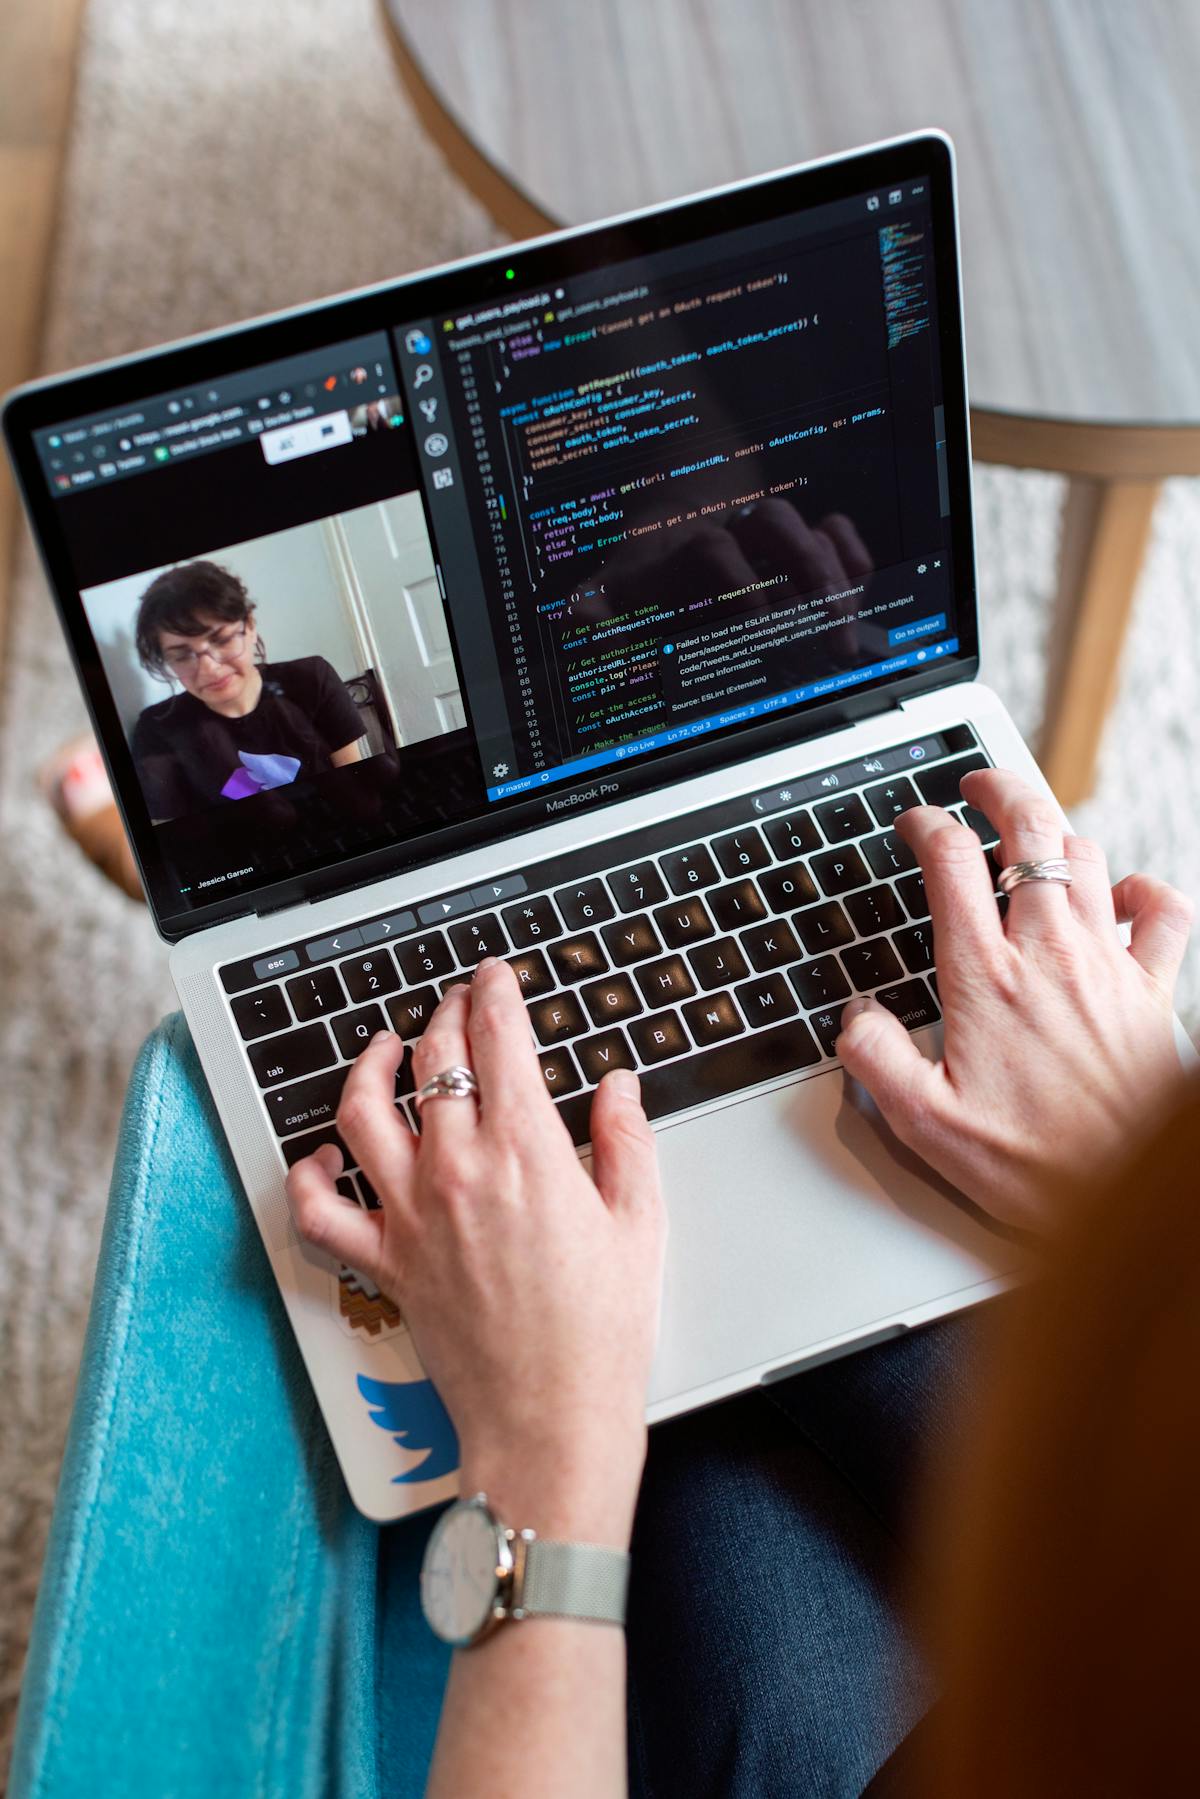
For MacBook Pros with Touch Bar (pre 2021 models), Cmd + Shift + 6 captures the Touch Bar.
Niche use case but useful for showing Touch Bar setups in tutorials. New MacBook Pros (2021+) replaced Touch Bar with function keys so this shortcut no longer applies.
7. Screen recording, Cmd + Shift + 5
Open the screenshot toolbar with Cmd + Shift + 5. Click either Record Entire Screen or Record Selected Portion.
Options menu lets you include microphone audio (your voice), show mouse clicks, and pick save location.
Stop recording with the stop button in menu bar (square icon) or Cmd + Control + Esc.
Resulting MP4 files are usable for tutorials, documentation, sharing what is on your screen.
8. Preview app for editing
After taking a screenshot, a thumbnail appears in the bottom right of the screen for a few seconds. Click it. Preview opens with markup tools.
Add arrows, text, highlights, redaction, signatures. Crop further. Resize. All without opening a separate image editor.
Save when done or drag the image directly into another app.
Change default save location
Desktop screenshots clutter your desk over time. Change the save location:
Press Cmd + Shift + 5. Click Options. Pick a new Save to location. Or pick Other Location and choose a custom folder.
I have mine saving to ~/Pictures/Screenshots. Keeps Desktop clean.
Change screenshot format
Default screenshot format is PNG. You can change to JPG, PDF, TIFF using Terminal.
Run, defaults write com.apple.screencapture type jpg
Then, killall SystemUIServer
Replace jpg with whatever format you want. JPG files are smaller. PNG keeps highest quality. PDF good for documents.
Remove shadow from window screenshots
The window capture method adds a drop shadow. To turn it off permanently:
defaults write com.apple.screencapture disable-shadow -bool TRUE
Restart SystemUIServer with killall. Window screenshots no longer include shadow until you change it back.
Third party alternatives
For power users, alternatives offer more features:
- CleanShot X ($30 one time), the best paid screenshot tool, scroll capture, screen recording, cloud sharing
- Shottr (free), modern Mac screenshot app with annotations
- Skitch (free), Evernote owned, simple annotations
- Snagit ($63), professional documentation tool
For most users, built in macOS screenshot tools are enough. Third party apps mainly add scroll capture (screenshot entire long pages) and automation features.
Which screenshot shortcut do you use most? Cmd + Shift + 4 is the most versatile. Cmd + Shift + 5 unlocks recording. Pick the one that fits your workflow.