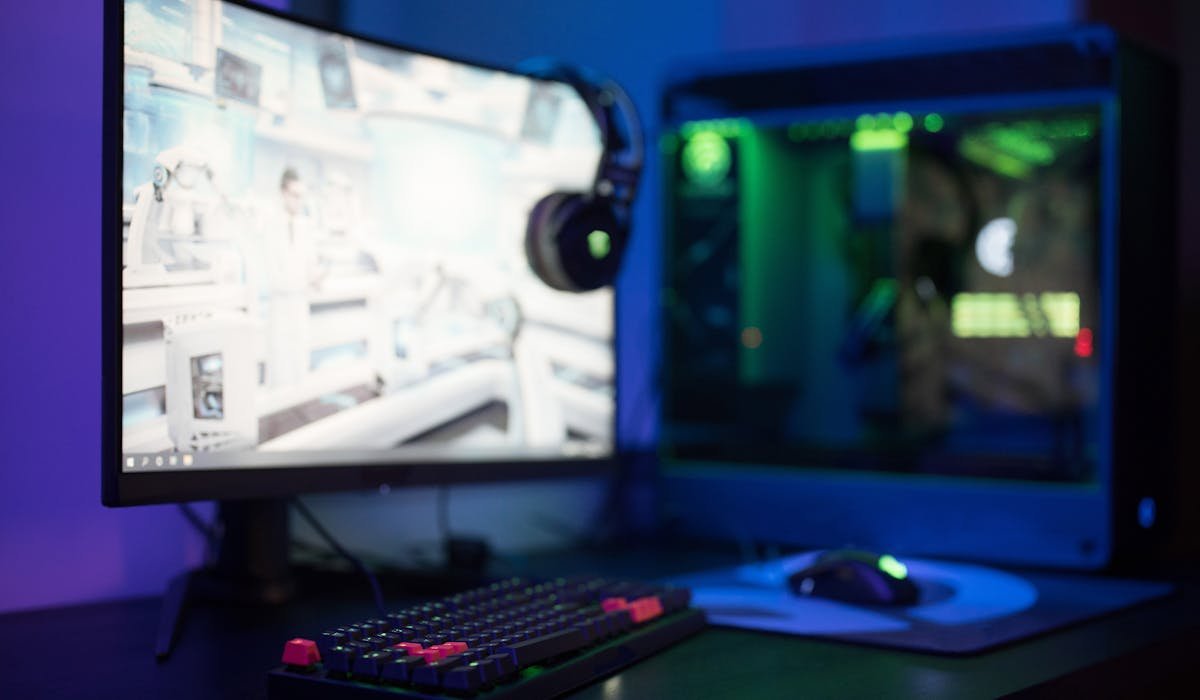
G-Sync syncs your monitor's refresh rate to whatever frame rate your GPU is putting out. The result is no screen tearing and way smoother gameplay. If you have an NVIDIA card and a G-Sync compatible monitor, it's probably already off by default and worth turning on.
The setup happens in the NVIDIA Control Panel. Takes 2 minutes. Here's the path.
Open NVIDIA Control Panel
Right-click your desktop and pick NVIDIA Control Panel. If you don't see the option, the panel might not be installed – grab it from the Microsoft Store (it's free).
In the left sidebar, expand Display and click Set up G-SYNC. If you don't see this option, your GPU or monitor isn't G-Sync compatible. Check the requirements section further down.
Enable G-Sync for your monitor
On the Set up G-SYNC page, check Enable G-SYNC, G-SYNC Compatible at the top. Below that, pick Enable for full screen mode or Enable for windowed and full screen mode.
Full screen only is fine for most gamers. Windowed adds support for borderless windowed games which some titles like Apex Legends use by default. Pick the second option if you're unsure.
If you have multiple monitors, only check Enable settings for the selected display model for the one with G-Sync. Don't enable for non-G-Sync monitors, it'll cause flickering.
Set V-Sync to on in 3D settings
Counterintuitive but important. G-Sync works best when paired with V-Sync set to On in the NVIDIA panel (not in-game). This prevents frame rates from exceeding your monitor's max refresh rate, where G-Sync stops working.
In the same NVIDIA Control Panel, click Manage 3D Settings. Scroll to Vertical Sync and pick On. Apply.
Then go into your game and turn V-Sync OFF in the in-game settings. Sounds weird but the order matters – V-Sync on at the driver level, off in-game.
Cap your frame rate
G-Sync stops working when your FPS exceeds the monitor's refresh rate. To prevent that, cap FPS at 3-5 below your refresh rate. Like 141 FPS cap on a 144 Hz monitor.
Set the cap in NVIDIA Control Panel under Manage 3D Settings. Find Max Frame Rate and enter your number. Or set it per-game in the Program Settings tab.
Requirements for G-Sync to work
You need all of these:
- NVIDIA GTX 10 series or newer GPU
- A G-Sync compatible monitor (G-Sync Ultimate, G-Sync, or FreeSync with G-Sync compatibility)
- DisplayPort connection (HDMI works on some newer monitors)
- Latest NVIDIA driver installed
- Windows 10 or 11
HDMI G-Sync support started on RTX 20 series. Older NVIDIA cards need DisplayPort even if the monitor itself supports HDMI G-Sync. Check both ends.
Test if G-Sync is actually running
NVIDIA has a built-in indicator. In the NVIDIA Control Panel, click Display then G-SYNC Indicator. Toggle it on. Now whenever G-Sync is actively working in a game, an "G-SYNC" overlay appears in the corner of your screen.
Open a game and look for the indicator. If it doesn't appear, G-Sync isn't engaging. Re-check your settings or restart the game in full-screen mode.
Common issues with G-Sync
Things that break G-Sync:
- Game running in borderless window without windowed G-Sync enabled
- FPS exceeding refresh rate (tearing returns)
- FPS dropping below 30 (G-Sync usually disables below this)
- Multi-monitor setup with non-matching refresh rates
- HDR mode in some games conflicts with G-Sync
If you're seeing tearing or stuttering, work through that list. Most issues come down to FPS caps and full-screen vs. windowed mode.
What game are you trying to smooth out? Drop the name and I'll mention any known G-Sync quirks with it.